
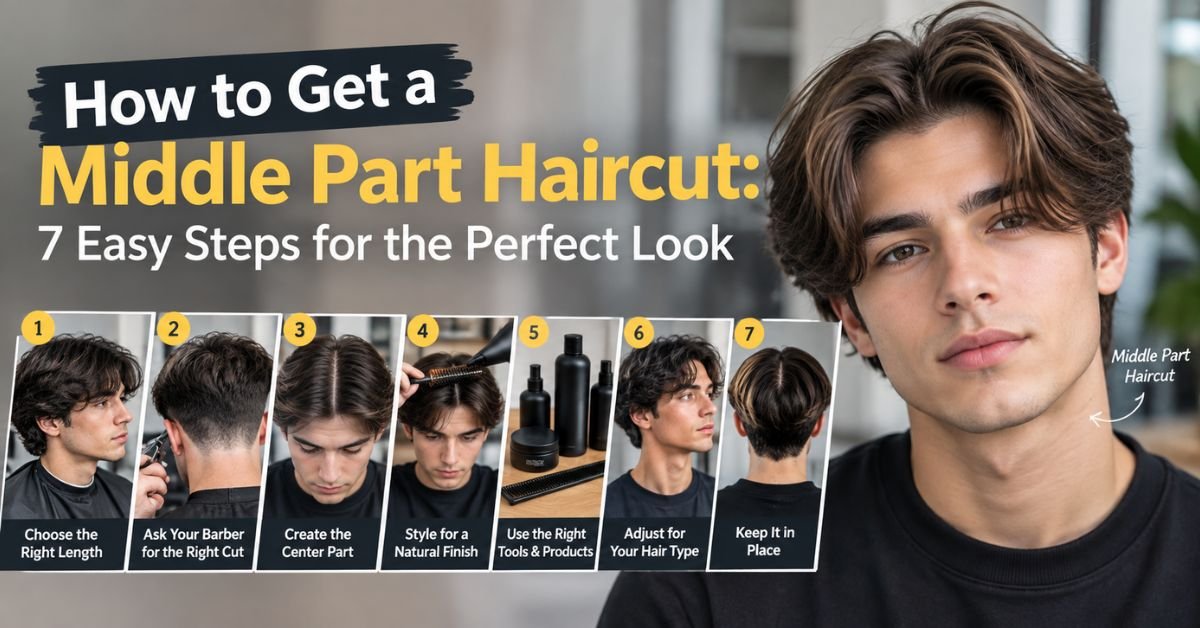
How to Get a Middle Part Haircut: 7 Easy Steps for the Perfect Look
How to Get a Middle Part Haircut is easier than you might think, but getting the look right takes more than simply splitting your hair down the center. The right length, haircut, styling technique, and daily hair training all make a difference.
You’ve seen the middle part haircut everywhere—from the street to magazines and your social media feed. In this guide, you’ll learn how to ask your barber for the right cut, style it for your hair texture, and fix common problems when your hair won’t cooperate. By the end, you’ll know exactly how to create and maintain a sharp center part haircut every day.
What Is a Middle Part Haircut?
A middle part haircut splits your hair right down the center of your head. Both sides fall evenly, framing your face like a set of curtains. That’s actually where the curtains haircut and curtain haircut names come from. The hair drapes down on each side, just like fabric pulled open at a window.
This style works on short hair and long hair alike. You’ll find a short middle part haircut on guys with cropped sides and a long middle part haircut on those growing out shaggier layers. It suits straight strands, waves, and curls. That’s rare for a hairstyle. Most cuts favor one texture over another, but the center part of the hairstyle bends to fit almost anyone, as long as the length and shape are right.
How Long Should Your Hair Be for a Middle Part?
Length matters more than anything else here. You need at least four to five inches on top. That’s enough for the fringe to fall past your eyebrows once it’s parted. Go shorter than that, and the hair just sticks up at the scalp part instead of falling flat. It won’t lie down. It’ll fight you.
Hair length requirements also shift depending on texture. Curly strands shrink once they dry, sometimes by half. So if you’ve got curls, aim for six to seven inches to end up with the same visible drop as someone with straight hair at four inches. Fine hair often needs a touch more length too, simply to look full enough across the part.
Read More: 25 Best Thick Straight Hair Haircuts for Men to Add Volume in 2026
| Hair Type | Minimum Length Needed | Visible Length After Drying |
| Straight hair | 4–5 inches | Same as cut length |
| Wavy hair | 4–5 inches | Slightly less, due to wave pull |
| Curly hair | 6–7 inches | 3–4 inches, due to shrinkage |
| Fine hair | 5+ inches | Needs extra for visible density |
How to Get a Middle Part Haircut
Getting the cut right is half the battle. The other half is what you do with it afterward. This section covers the four building blocks: choosing your shape, briefing your barber, creating the part, and finishing the style. Nail these, and everything downstream gets easier.
Skip any one of these steps, and you’ll spend weeks fighting a cut that was never set up to succeed. A rushed haircut consultation or a badly defined hair parting line causes most of the problems people run into later. So slow down here. It pays off.
Choose the Right Length and Shape
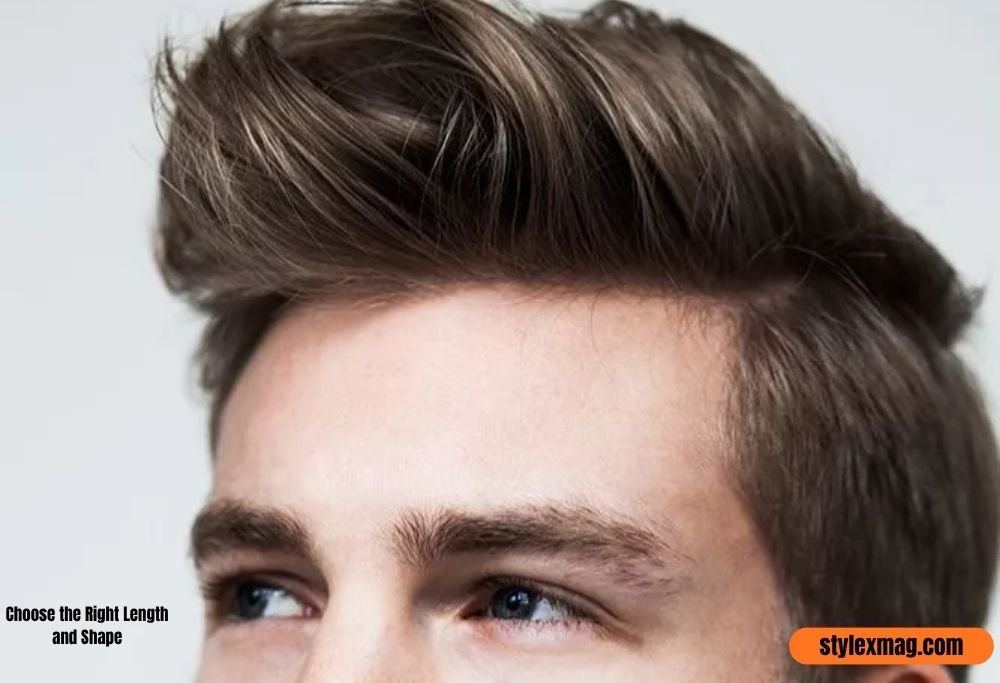
Start by thinking about your face shape. Round and square faces tend to suit a middle part hairstyle best, because the vertical line adds structure. Oblong faces can still wear it, but a shorter fringe helps balance things out. Your hair texture also plays a role. Thick hair can handle more length and heavier layering, while fine hair often looks better a little shorter, so it doesn’t go flat under its own weight.
Think about maintenance too. A modern middle part haircut with hair layers through the top gives you movement and texture. A classic middle part haircut, kept blunt and one-length, gives you a cleaner, more polished look. Neither is wrong. It depends on how much daily styling you’re willing to put in.
Ask Your Barber for the Right Cut
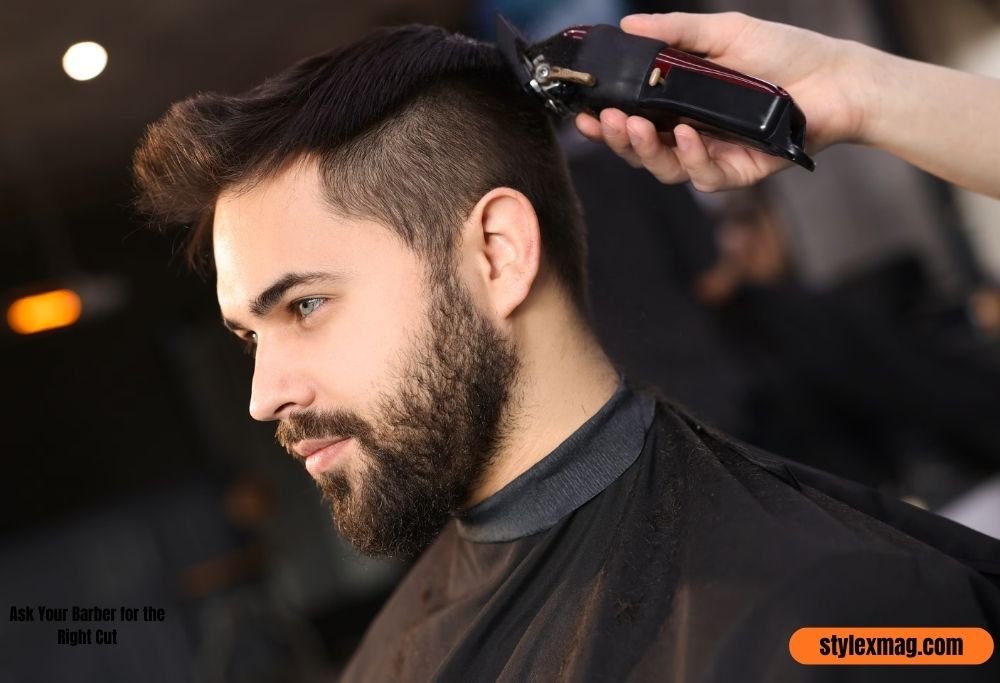
This step trips up more people than any other. Walking in and saying “give me a middle part” isn’t enough. Your barber needs specifics, or you’ll end up back in the chair within a month.
Tell them the length you want on top, in inches, and mention that the fringe should reach past your eyebrows when parted. Specify what you want on the sides. A middle part fade gives a sharp, high-contrast look. A middle part taper blends more gently. A middle part with undercut shaves the sides short while keeping serious length on top, for maximum contrast. Bring a photo too, front and side. It removes all the guesswork.
Create and Define the Center Part
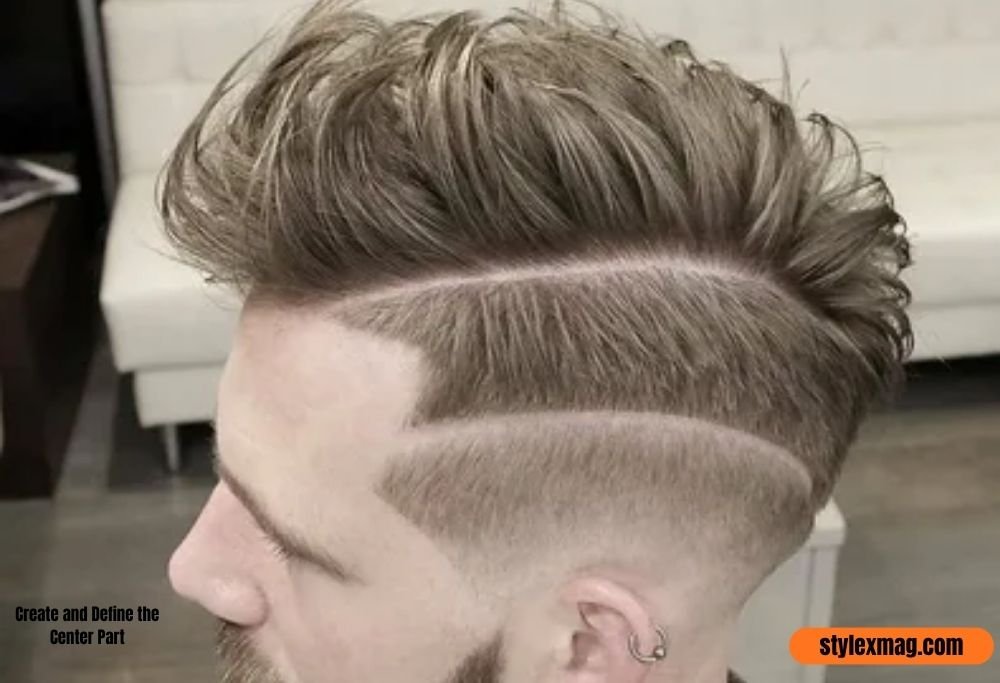
Once the cut is done, the natural hair part needs defining. Start with damp hair, not soaked and not dry. Comb everything straight back first, then line up a fine-tooth comb with the bridge of your nose. Slide it straight back through the hair. That’s your center part, and it should land dead center almost every time.
Damp hair takes direction far better than dry hair does. Dry strands resist a new hair direction, especially if they’ve been styled another way for years. So always start this step with wet or damp hair, never dry.
Read More: 25 Best Thin Straight Hair Haircuts For Men to Add Volume in 2026
Style the Hair for a Natural Finish
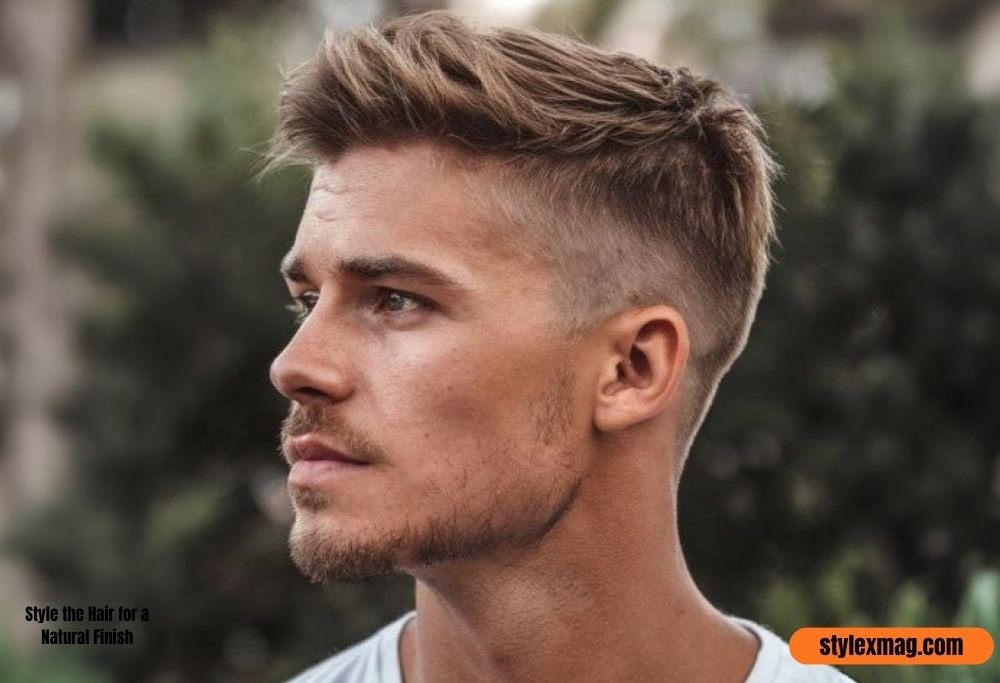
Grab your blow dryer and a round brush. Work one side at a time, aiming the airflow down and outward from the part line. Lift at the roots with the brush as you go. This is what builds real hair volume instead of a flat, pasted-down look.
Once both sides are dry, add a small amount of styling cream or matte clay, working it through the mid-lengths and ends only. Skip the roots, or it’ll look greasy by afternoon. Finish by pinching and bending the ends outward with your fingers. That’s the flick you see in a proper curtain bangs style.
How to Style a Middle Part for Your Hair Type
Not every head of hair responds the same way to the same routine. Hair texture changes everything, from the tools you reach for to the products you apply. The three sections below break it down by type, so you can skip straight to what applies to you.
Getting this part right is often the difference between a middle part haircut for men that looks intentional and one that looks like it just fell that way. A few small adjustments, based on your natural texture, make a noticeable difference by the end of the week.
Straight Hair
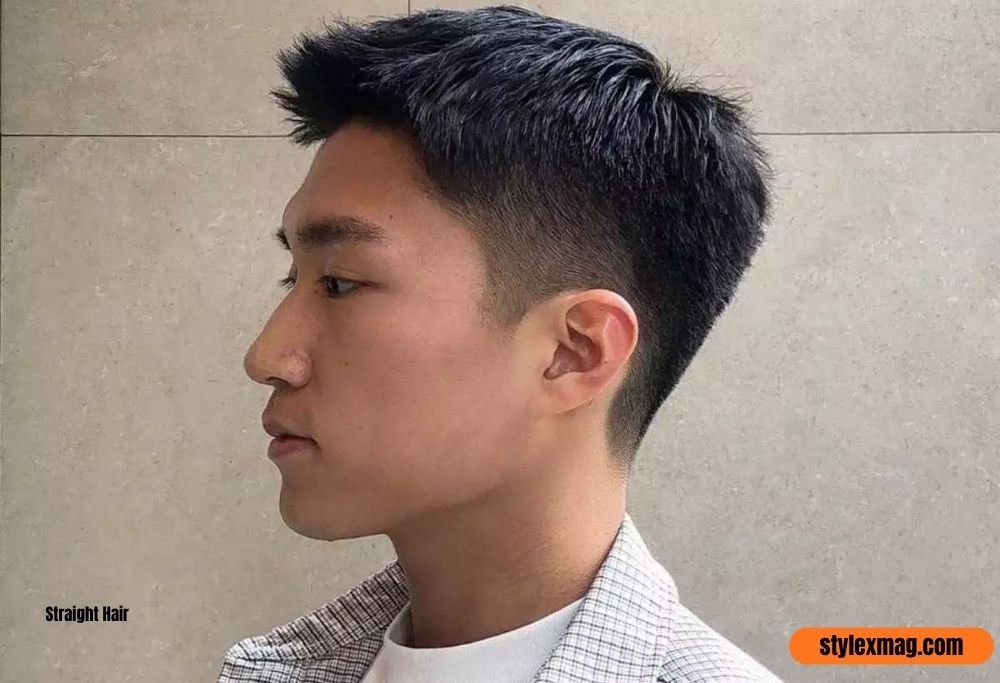
Middle part for straight hair styling relies heavily on the blow dryer and round brush combo. Apply a sea salt spray to damp hair first for grip, then dry with the round brush lifting at the roots. Finish with matte clay for hold without shine. Air-drying works in a pinch, but you’ll lose close to half the volume compared to a proper blow-dry.
Wavy Hair
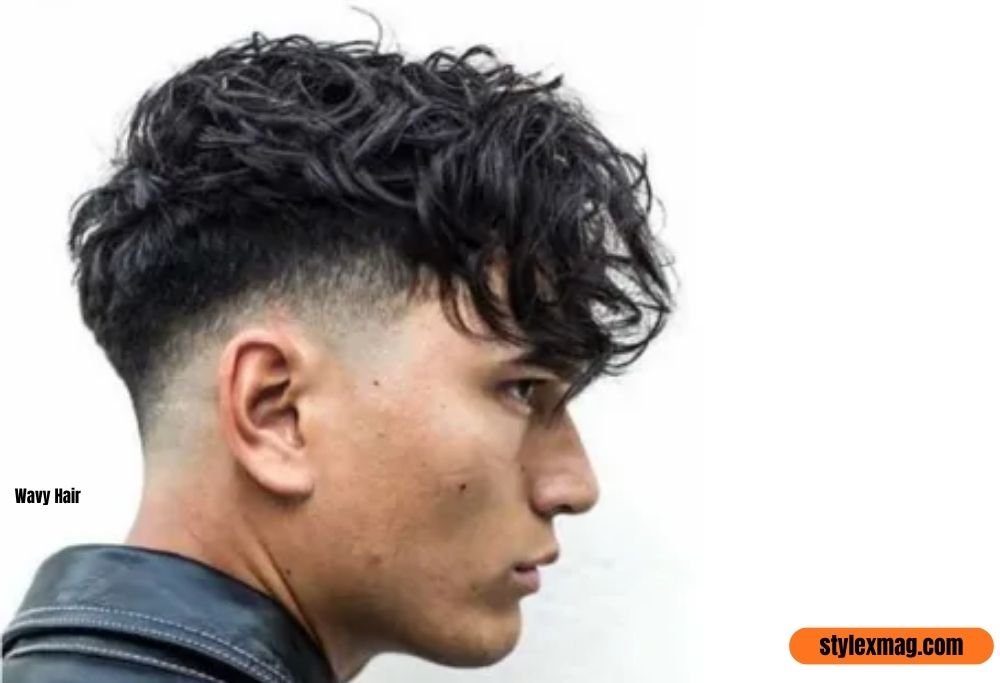
Middle part for wavy hair needs a gentler touch. Apply sea salt spray to damp strands, scrunch upward, then either diffuse on low heat or let it air-dry. Skip the round brush here. It tends to pull the wave pattern straight, which defeats the texture you’re working with. A small amount of hair wax on the ends adds definition without weighing things down.
Read More: 30 Best Surfer Haircut Men Styles for a Cool Beach Look in 2026
Curly Hair
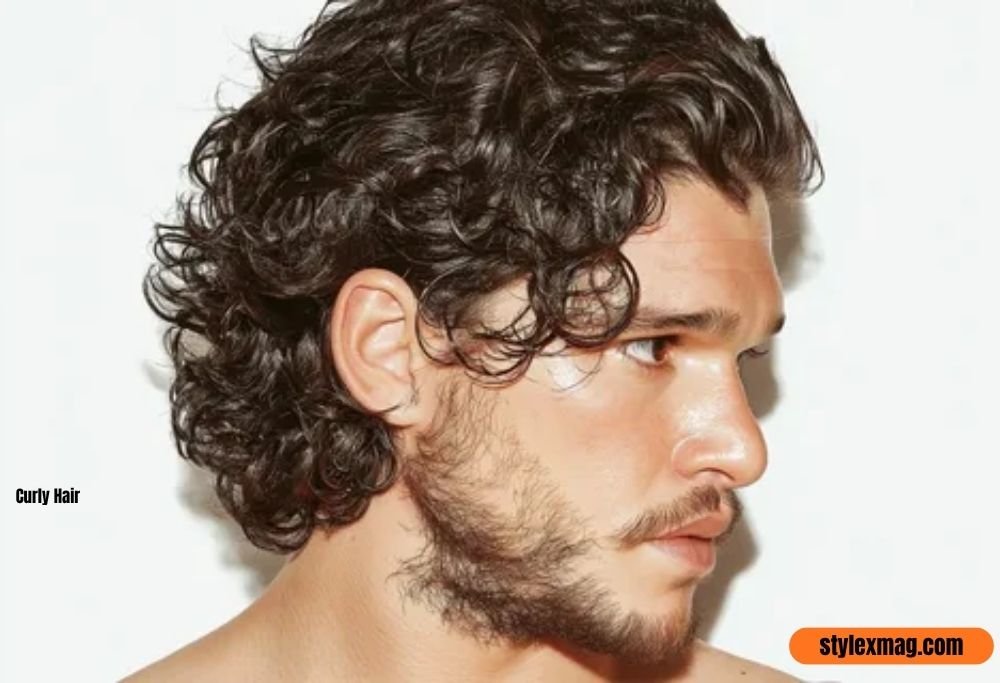
Middle part for curly hair works best when you part while the hair is still soaking wet, using a curl cream rather than a cream meant for straight strands. Diffuse on low heat, and never brush once it’s dry. A layered middle part softens curls nicely, since layers reduce bulk without cutting away the curl pattern itself.
What Tools Do You Need to Style a Middle Part?
You don’t need a huge kit, but a few tools genuinely make a difference. A fine-tooth hair comb, ideally a rat-tail comb, gives you the precision needed for a clean parting line. A blow dryer sets both direction and shape, and without one, the part tends to drop by midday.
A round brush lifts the roots away from the scalp as you dry, which is where most of your volume comes from. If you’ve got curls or waves, add a diffuser attachment to preserve the natural pattern instead of blowing it out straight. Non-crease clips help hold each side in place while drying, and a heat protectant spray is worth using if you’re drying daily.
What Products Are Best for a Middle Part?
Product choice depends on hair texture, not the brand on the label. A sea salt spray adds texture and grip, best applied to damp hair before drying. Matte clay gives medium hold with zero shine, ideal for thicker or straighter hair that needs some backbone. Styling cream works as the flexible, everyday option for most hair types.
Hair mousse adds lightweight volume, useful for fine hair that goes flat easily. A texture powder at the roots does something similar, giving lift without any visible product residue. As a rule, most styling products go on after the hair is dry, not before. The main exceptions are sea salt spray and pre-stylers, which need dampness to work properly.
| Hair Type | Best Product | Application Time |
| Straight, needs hold | Matte clay | After drying |
| Fine, needs volume | Hair mousse or texture powder | Roots, after drying |
| Wavy, needs texture | Sea salt spray | Damp hair, before drying |
| Curly, needs definition | Curl cream | Wet hair, before diffusing |
How to Train Your Hair to Hold a Middle Part
Hair has a kind of memory. Years of parting one way means the roots resist a new hair direction, at least at first. Hair training takes daily repetition, but it works. Every time you wash your hair, part it down the center and blow-dry it into place while it’s still damp. Non-crease clips at the part line speed things along, holding the shape while it dries.
At night, dampen the roots, part again, and clip in place before bed. Do this for about a week, and you’ll notice the hair falling into position faster than daytime drying alone achieves. If a stubborn cowlick refuses to cooperate no matter what, shift the part about a centimeter off dead-center. You’ll get nearly the same look with a fraction of the daily fight.
How Long Does It Take to Grow a Middle Part?
Hair growth moves at a fairly predictable pace. On average, scalp hair grows about half an inch per month, or somewhere between four and six inches a year, according to general dermatology guidance. That gives you a realistic timeline to plan around.
Starting from a buzz cut, expect roughly eight to ten months before you reach proper middle-part length. From a two-inch crop, it’s closer to four to six months. There’s an awkward middle stage, usually around month four or five, where the hair is too long for a short cut but still too short to part cleanly. A bit of sea salt spray and matte clay gets you through that stretch without looking unkempt. Curly hair needs roughly 50 percent more time in this process, thanks to shrinkage.
How to Fix Common Middle Part Problems
Even a great cut runs into trouble sometimes. The good news is that most middle part haircut problems come down to just a handful of causes, and each one has a fairly simple fix. The six sections below cover the complaints that come up again and again in the chair.
Cowlicks Around the Front Hairline
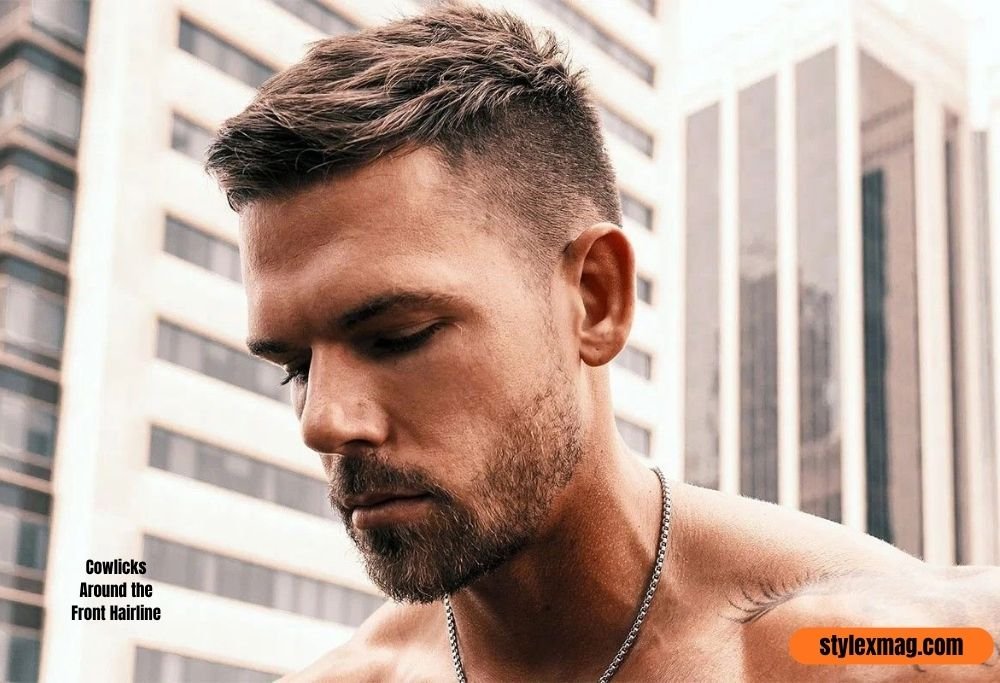
A cowlick pushes hair in its own direction, resisting the center split you’re going for. Blow-dry against the cowlick’s natural direction while the hair is properly wet, not just damp. Once it dries the wrong way, you’re stuck re-wetting it to fix it. A firm-hold spray right at the root of the cowlick helps lock things in place.
A Noticeable Widow’s Peak

A widow’s peak creates an uneven starting point at the hairline. If it sits dead center, it can actually work in your favor, acting like a natural guide for the part. If it pulls to one side instead, blow-dry outward from the peak in both directions to balance things visually.
Flat or Lifeless Hair
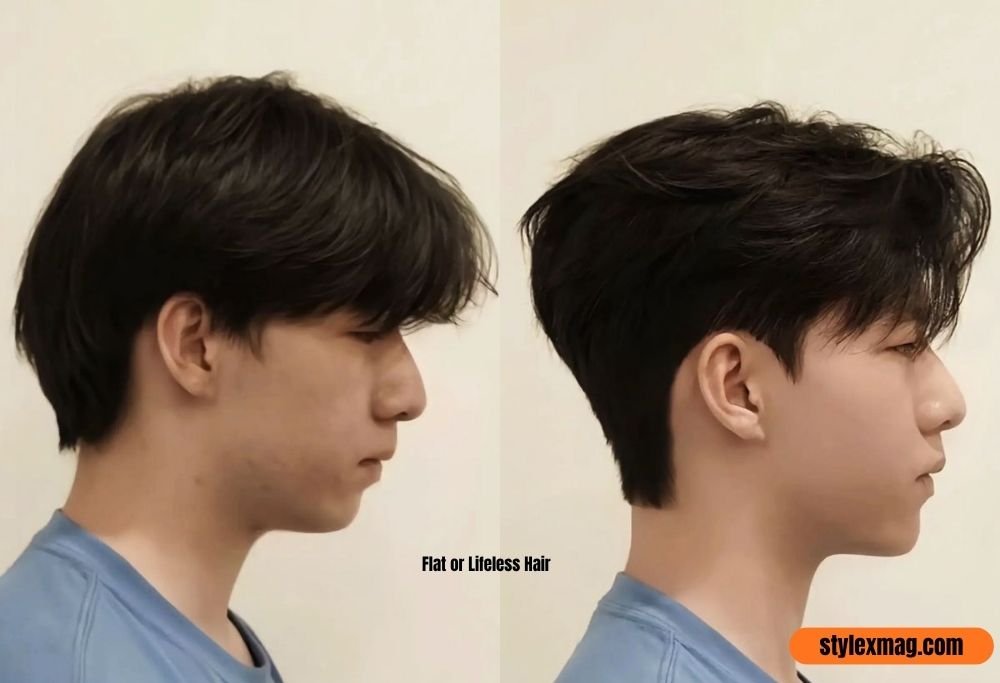
Flat hair usually comes down to a missing step, not a bad cut. Use the round brush at the roots while drying to build lift where it’s needed most. A texture powder afterward adds invisible volume. Heavy pomades and gels weigh curtains down fast, so swap those for a lighter matte clay or cream instead.
A Part That Keeps Moving
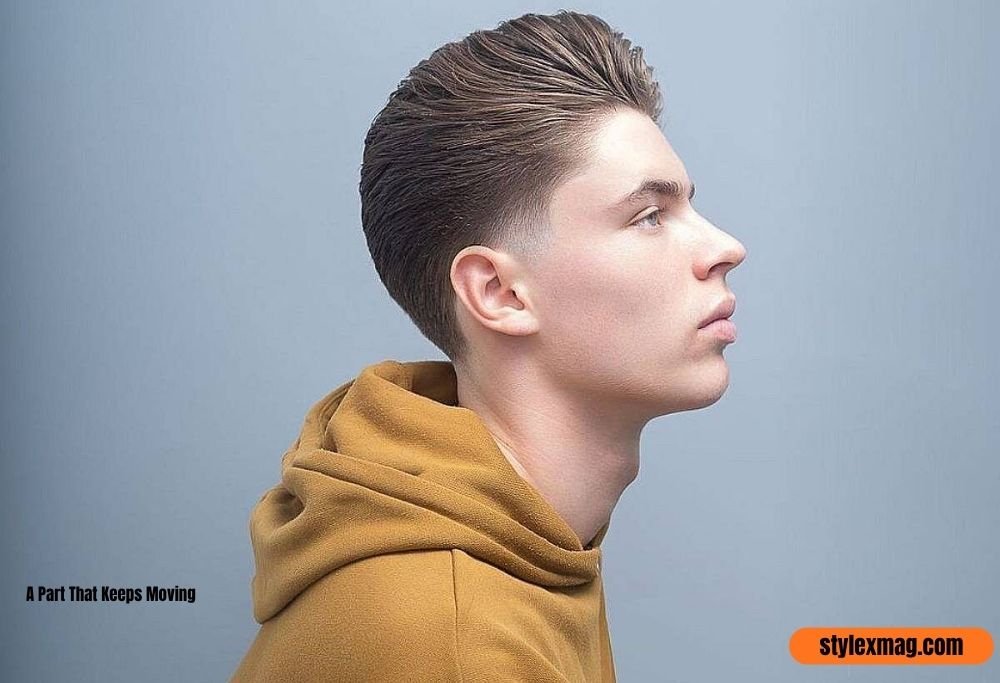
If the part disappears by midday, you likely aren’t spending enough time drying right at the root of the parting line. That’s where the hold actually sets. A light hairspray at the roots, combined with a non-crease clip during drying, forces the part to stay put through the day.
Uneven Sides
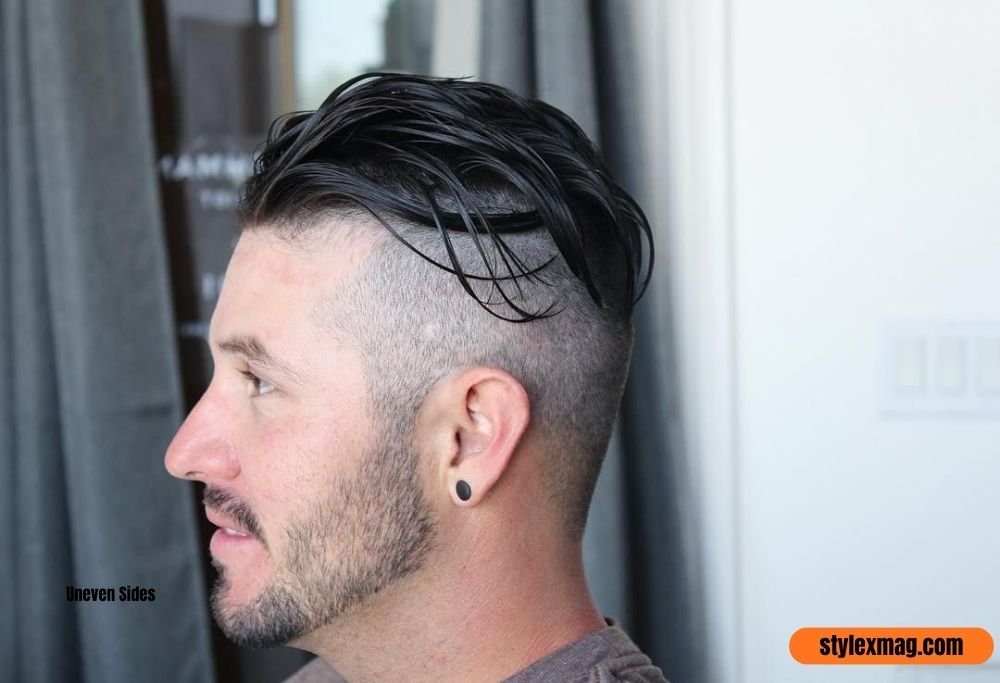
Uneven sides usually trace back to your natural growth pattern rather than a cutting mistake. Dry the weaker or more resistant side first, while it’s still at its wettest, since wet hair takes new direction more easily. Check in the mirror before you add any product.
Frizz Along the Part
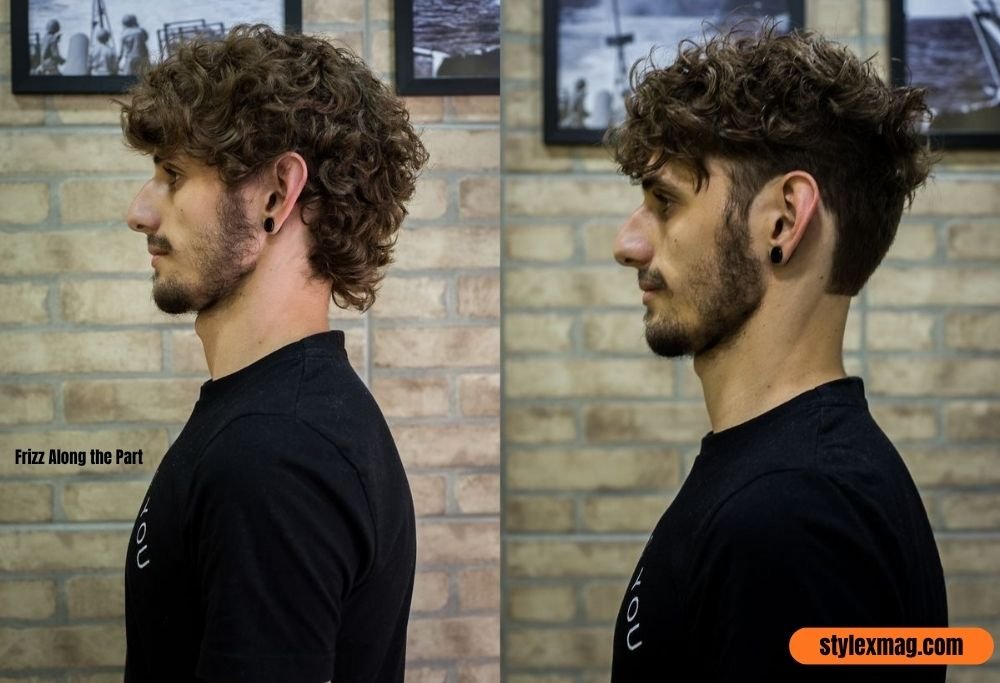
Frizz control along the part line often comes down to one simple trick. Wrap a scarf tightly around the part for two or three minutes right after drying. It presses everything smooth and lays down flyaways. A tiny bit of styling cream, smoothed along the line with your fingers, handles what’s left without flattening the volume you just built.
Common Middle Part Styling Mistakes to Avoid
A few habits quietly undo good styling work, even when the cut itself is solid. Pointing the blow dryer upward, rather than down the length of the hair, roughens the cuticle and pushes roots the wrong way. Always aim the nozzle downward, root to tip, on both sides.
Using too much product is another common slip. Curtains should move naturally when you turn your head. Stiff, crunchy hair means you’ve overdone it, so start small and build up if needed. Parting on completely dry hair also causes problems, since dry strands resist new direction far more than damp ones. And a flat brush, rather than a round one, pushes hair down against the scalp instead of lifting it, which flattens the whole look before you’ve even started.
How to Get a Middle Part Without a Blow Dryer
It’s entirely possible, though the result tends to be softer and drops out a bit faster over the course of the day. Comb wet hair straight back, create the center part with a fine-tooth comb, and pin both sides with non-crease clips. Let it air-dry fully before removing the clips and shaping gently with your fingers.
A sea salt spray applied before air-drying adds grip and visible texture, which helps the shape hold longer than plain water alone. This heatless approach tends to work best on wavy and curly hair, since those textures already have a natural body. Straight hair, on the other hand, often falls flat without the volume a proper blow-dry provides.
FAQ’s
Is the middle part good for every face shape?
Not quite every shape, but most. Round and square faces tend to suit it particularly well, since the vertical line adds structure and definition. Oblong or longer faces can still wear it, though a shorter fringe helps keep things balanced rather than stretching the face further.
How long does hair need to be for a middle part?
You’ll need at least four to five inches on top, enough for the fringe to reach past your eyebrows once parted. Curly hair needs more, closer to six or seven inches, to account for shrinkage once it dries.
Why does Gen Z like the middle part?
Gen Z likes the middle part because it feels trendy, effortless, and inspired by 1990s and Y2K fashion.
It also works with many hair types and face shapes, making it easy to personalize.
Which haircut suits the middle part?
A layered, curtain, taper, or fade haircut pairs well with a middle part.
The best choice depends on your hair length, texture, and face shape.
What is the 3:2:1 rule for haircuts?
The 3:2:1 rule generally refers to keeping different hair lengths balanced, with longer hair on top and progressively shorter sides.
It creates a clean, proportional shape that can complement a middle-part style.
Should hair be parted in the middle for a haircut?
Yes, parting your hair in the middle helps your barber see how your hair naturally falls and where the center should sit.
Final Thoughts
A great middle part haircut comes down to three things working together: the right length, a cut that supports the style, and a bit of patience while your hair learns the new hair direction. None of it happens overnight, but the routine gets easier every week you stick with it.
Whether you’re going for a short middle part haircut or growing out something longer with textured middle part layers, the fundamentals stay the same.
Get the cut right, train the part daily, and use products suited to your hair texture. Stick with it, and the center part hairstyle will start falling into place on its own, no clips or scarves required.
StyleXMag Editorial Team shares the latest haircut and hairstyle ideas, from modern fades and comb overs to curly, long, slick-back, and face-shape styles. Our goal is to make finding your next look simple, useful, and inspiring.